I just finished doing a beginners video that demonstrates how paper models are done. This was shot with a web cam so pardon the quality. The original video was 1.4GB, then I compressed it to 64MB, and then another, that ended up at 19.4MB using the Xvid codec. That's the smallest size I can encode the video without compromising the quality too much. The paper model I used in this demo is the Kabuki Bear by Moichi.
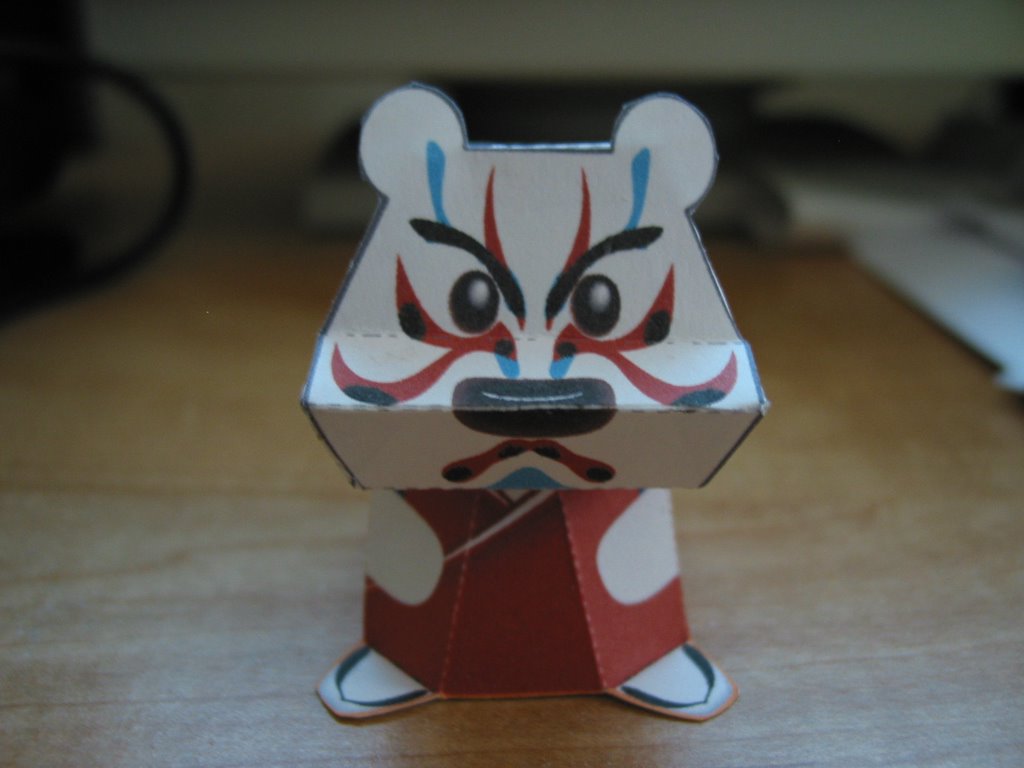


Kabuki Bear - Download - http://www.boreas.dti.ne.jp/~moichi/
On the following days and weeks to come, I will also do instructional videos on other paper crafts and origami, so just stay tuned for that.
Before I begin explaining this video, please note that all of this notes are based on my personal experiences and that technique varies from person to person.
Part 1 - Cutting - This is really the simplest part but you should also be careful at the same time, try to look at the entirety of the model before you start cutting, note that I did not use the cutter for this project, In my experience in paper crafting I have seldomly used the cutter for cutting the outlines of the models, I mainly used narrow tip scissors for all of this. I do however use the cutters if there is something to be remove or cut from inside of the paper model and for very minute detailing. Once you have cut the paper models, its time to move on to. . .
Part 2 - Folding and Creasing - This part can either be really easy or really difficult depending on the paper model, there are three techniques that you should be familiar with when doing paper crafts, the mountain fold, valley fold, and tubulars. ( I will be doing a demo on this in my next video). When folding you should learn to use your power of observation and visualize at the same time to enable you to easily determine which part goes together.
Part 3 - Gluing and Assembling - After you've folded and creased the parts this is where visualization comes handy, once you've figured out how to put them together, start putting a small amount of glue on the glue tab. The best to determine if you've put the right amount of glue is when you press the glued surfaces and no glue comes out. After you've glued and assembled them together, relax, pat yourself in the back and enjoy your new paper craft model.
Tip: If your hand starts sweating, make sure you dry them real well before continuing, you don't want to smear the ink on your paper model.